(These Walkthroughs are defunct) |
|||
| (27 intermediate revisions by 13 users not shown) | |||
| Line 5: | Line 5: | ||
|Location = [[The Hound Pits Pub]] |
|Location = [[The Hound Pits Pub]] |
||
|Classes Encountered = None |
|Classes Encountered = None |
||
| − | |Enemies = [[City Watch]] |
+ | |Enemies = [[City Watch Guards]]<br>[[City Watch Officers]]<br>[[Tallboys]] |
|Runes = 1 |
|Runes = 1 |
||
|Charms = 0 |
|Charms = 0 |
||
| Line 11: | Line 11: | ||
|Paintings = 0 |
|Paintings = 0 |
||
|Coins = 360 |
|Coins = 360 |
||
| + | |Preceded by = [[The Flooded District]] |
||
| + | |Followed by = [[The Light at the End]] |
||
}} |
}} |
||
{{SameName|the mission The Loyalists|[[the Loyalist Conspiracy]]}} |
{{SameName|the mission The Loyalists|[[the Loyalist Conspiracy]]}} |
||
| Line 23: | Line 25: | ||
==Infiltration== |
==Infiltration== |
||
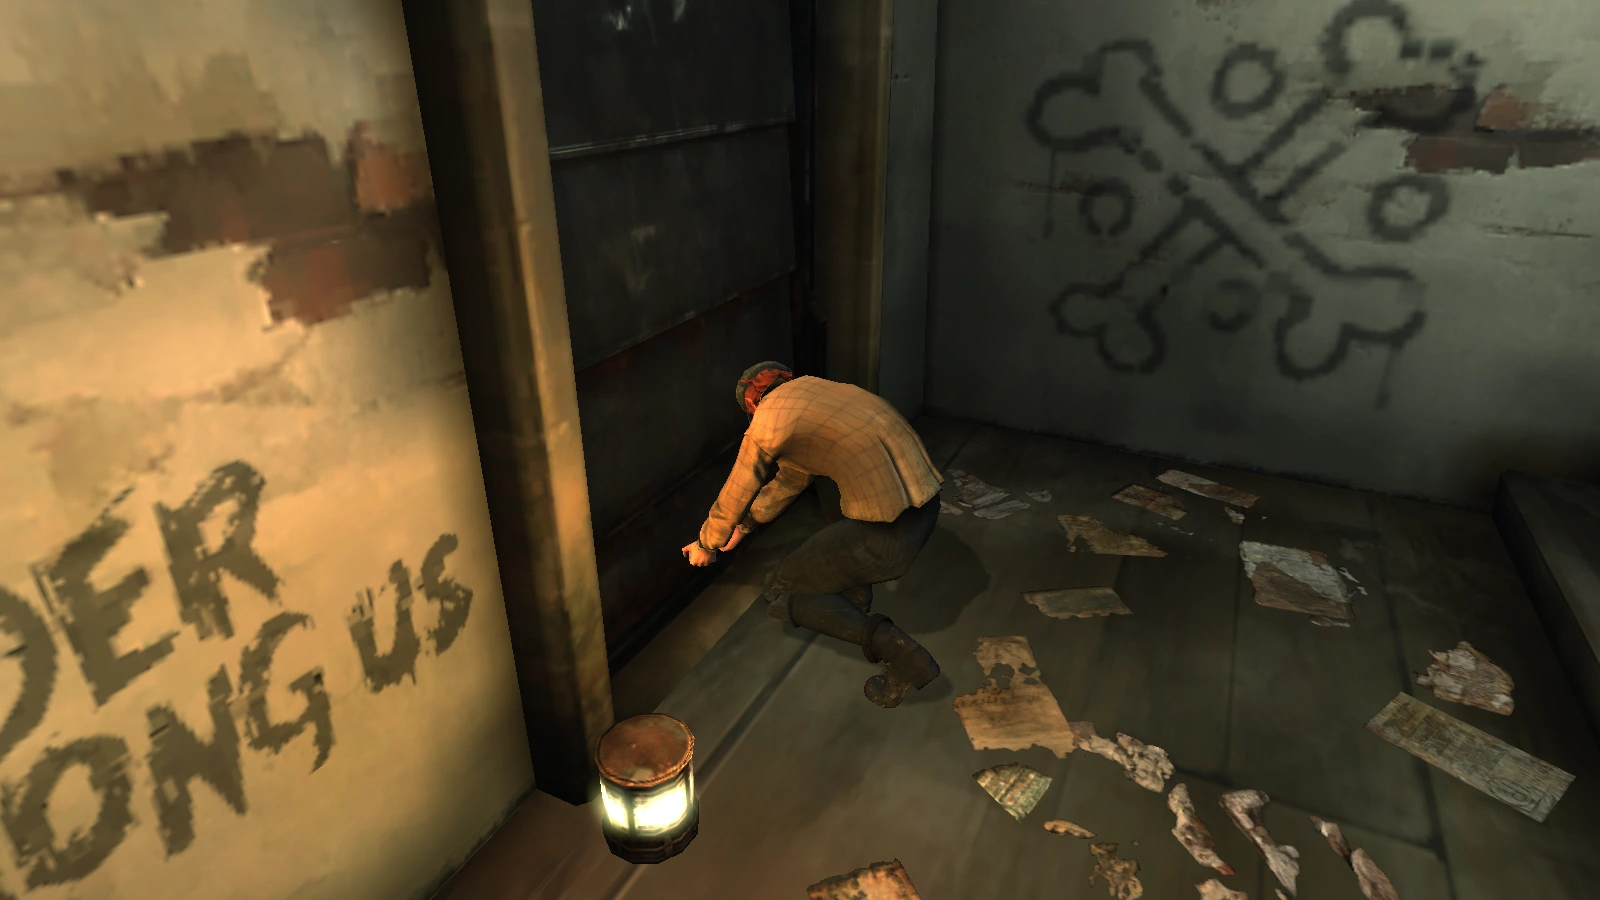
[[File:Cece02.png|thumb|200px|Cecelia attempts to open the sealed door.]] |
[[File:Cece02.png|thumb|200px|Cecelia attempts to open the sealed door.]] |
||
| − | The mission starts in the abandoned apartment behind the Pub. Cecelia is attempting to break her way out of the inner door, which has been sealed. When Corvo appears, she tells him about [[Farley Havelock|Havelock]], [[Treavor Pendleton|Pendleton]], and [[Teague Martin|Martin's]] betrayal. The nature of her explanation is dependent on Corvo's [[chaos]] level: if Corvo's chaos is high, [[Wallace Higgins|Wallace]], [[Lydia Brooklaine|Lydia]], and [[Callista Curnow|Callista]] will have been violently murdered. If Corvo's chaos is low, Callista will have been spared, locking herself in [[Emily's Tower]], and Wallace and Lydia's deaths will have been less violent. In both instances, [[Samuel Beechworth|Samuel]] has gone missing, and Emily has been kidnapped. |
+ | The mission starts in the [[Abandoned Apartment|abandoned apartment]] behind the Pub. Cecelia is attempting to break her way out of the inner door, which has been sealed. When Corvo appears, she tells him about [[Farley Havelock|Havelock]], [[Treavor Pendleton|Pendleton]], and [[Teague Martin|Martin's]] betrayal. The nature of her explanation is dependent on Corvo's [[chaos]] level: if Corvo's chaos is high, [[Wallace Higgins|Wallace]], [[Lydia Brooklaine|Lydia]], and [[Callista Curnow|Callista]] will have been violently murdered. If Corvo's chaos is low, Callista will have been spared, locking herself in [[Emily's Tower]], and Wallace and Lydia's deaths will have been less violent. In both instances, [[Samuel Beechworth|Samuel]] has gone missing, and Emily has been kidnapped. |
| + | [[File:the loyalists01.png|thumb|200px|The scene upon leaving the abandoned apartment.]] |
||
Go up the stairs and there will be a room to Corvo's left with one bottle each of [[Sokolov's Elixir|Sokolov's]] and [[Piero's Spiritual Remedy|Piero's]] elixirs. To the right will be the exit with two keys hanging next to it, the [[Keys|Abandoned House Key]] and Old Port District Sewer Key. Grab both and exit through the door. |
Go up the stairs and there will be a room to Corvo's left with one bottle each of [[Sokolov's Elixir|Sokolov's]] and [[Piero's Spiritual Remedy|Piero's]] elixirs. To the right will be the exit with two keys hanging next to it, the [[Keys|Abandoned House Key]] and Old Port District Sewer Key. Grab both and exit through the door. |
||
| Line 35: | Line 38: | ||
*Use the sewer access grate and enter through the basement. |
*Use the sewer access grate and enter through the basement. |
||
| − | Corvo can overhear a conversation between two guards in the barroom and learn that [[Anton Sokolov]] and [[Piero Joplin]] are still alive and barricaded in [[Piero's Workshop]]. Grab [[ |
+ | Corvo can overhear a conversation between two guards in the barroom and learn that [[Anton Sokolov]] and [[Piero Joplin]] are still alive and barricaded in [[Piero's Workshop]]. Grab [[Havelock's Orders to the Guard|Havelock's note]] in the barroom. Corvo can then go to his room, evading or neutralizing guards along the way (including several in the room itself), and retrieve Emily's drawing and [[A Letter From Emily|note]]. |
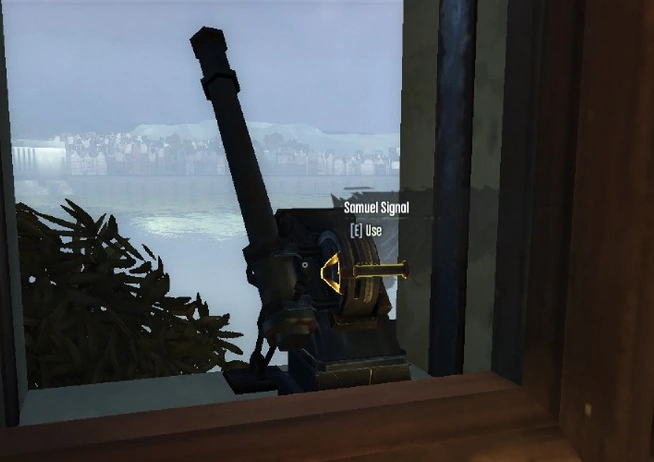
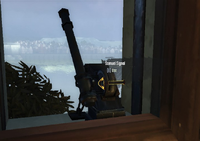
[[File:Samsig.png|thumb|200px|The signal flare.]] |
[[File:Samsig.png|thumb|200px|The signal flare.]] |
||
| Line 44: | Line 47: | ||
[[File:Emilytowerbridge.jpg|thumb|200px|Corvo activating the Arc Pylon.]] |
[[File:Emilytowerbridge.jpg|thumb|200px|Corvo activating the Arc Pylon.]] |
||
Piero and Sokolov are barricaded in Piero's Workshop, hiding from the new Lord Regent's forces. They can be heard talking amiably as Corvo enters the building; when he approaches them, the two will inform him about their nearly-completed project, a new kind of [[Arc Pylon]] that can be set to stun or kill enemies over a much wider range than standard Pylons. However, it needs final adjustments, and the [[Blueprints|blueprints]] have been taken from them; Corvo must acquire the blueprints from Havelock's room and the [[Whale Oil|whale oil]] to fuel the machine for it to work. Corvo can then choose to set the weapon's power level high enough to incinerate all enemies in the area, or low enough to render them all unconscious. |
Piero and Sokolov are barricaded in Piero's Workshop, hiding from the new Lord Regent's forces. They can be heard talking amiably as Corvo enters the building; when he approaches them, the two will inform him about their nearly-completed project, a new kind of [[Arc Pylon]] that can be set to stun or kill enemies over a much wider range than standard Pylons. However, it needs final adjustments, and the [[Blueprints|blueprints]] have been taken from them; Corvo must acquire the blueprints from Havelock's room and the [[Whale Oil|whale oil]] to fuel the machine for it to work. Corvo can then choose to set the weapon's power level high enough to incinerate all enemies in the area, or low enough to render them all unconscious. |
||
| + | |||
| + | Corvo will be able to purchase ammunition and [[Upgrades|upgrades]] for the last time by completing this objective, as nothing can be purchased after this mission. |
||
==Special Actions== |
==Special Actions== |
||
| Line 54: | Line 59: | ||
*There are a total of three tallboys patrolling the area. |
*There are a total of three tallboys patrolling the area. |
||
*Other than the guards outside the Pub, there are several more inside the building itself, with a large concentration on the top floor in Corvo's room. |
*Other than the guards outside the Pub, there are several more inside the building itself, with a large concentration on the top floor in Corvo's room. |
||
| − | *Cecelia will attempt to flee after the Arc Pylon is activated, leaving a note for Corvo that explains her actions. |
+ | *Cecelia will attempt to flee after the Arc Pylon is activated, leaving a [[A Letter from Cecelia|note]] for Corvo that explains her actions. |
*The blueprints Piero needs for the Arc Pylon are found in a trashbin in Havelock and Martin's office. |
*The blueprints Piero needs for the Arc Pylon are found in a trashbin in Havelock and Martin's office. |
||
*A [[Runes|rune]] is located on the desk next to an [[Audiograph Player|audiograph machine]] on the second floor of Piero's Workshop. |
*A [[Runes|rune]] is located on the desk next to an [[Audiograph Player|audiograph machine]] on the second floor of Piero's Workshop. |
||
*Killing Cecelia allows Corvo to take her key without conversing with her, but Sokolov or Piero's deaths will result in failure of their side-quest. Samuel and Callista cannot be killed without ending the game. |
*Killing Cecelia allows Corvo to take her key without conversing with her, but Sokolov or Piero's deaths will result in failure of their side-quest. Samuel and Callista cannot be killed without ending the game. |
||
| + | **If the signal flare has already been lit, however, it is possible to kill Callista. |
||
*In low chaos, on the desk in Emily's tower will be one elixir and one remedy. In high chaos, Corvo will find an arsenal of ammo and weapons. |
*In low chaos, on the desk in Emily's tower will be one elixir and one remedy. In high chaos, Corvo will find an arsenal of ammo and weapons. |
||
| + | |||
==Trivia== |
==Trivia== |
||
*The Special Action "Rescued Piero and Sokolov..." can still be achieved even if Corvo murders them and then defeats all other hostiles. |
*The Special Action "Rescued Piero and Sokolov..." can still be achieved even if Corvo murders them and then defeats all other hostiles. |
||
*Pendleton's audiograph player, containing the [[Aristocrats|aristocrat's]] [[Pendleton Embraces The Future|last entry]], can be found mysteriously abandoned in the sewers. |
*Pendleton's audiograph player, containing the [[Aristocrats|aristocrat's]] [[Pendleton Embraces The Future|last entry]], can be found mysteriously abandoned in the sewers. |
||
| + | *Possessing or hitting Callista, Piero, or Sokolov with a sleep dart will cause them to be counted as dead for the ending sequence. They will also fall to their knees after being possessed, and Sokolov may attempt to flee and call for help. |
||
| + | *Samuel will briefly react upon seeing a friendly corpse. |
||
| + | *There is a [[General Notice|note]] on the door to the pub detailing Havelock's orders for the remaining conspirators. Cecelia will not be mentioned in it, supporting her claim that Havelock likely did not remember that she existed. |
||
==Gallery== |
==Gallery== |
||
| + | <div class="scrollbox"> |
||
| − | <div style="height:575px;width:675px;border:1px solid #683B35;font:16px/26px;overflow:auto;"> |
||
| − | <gallery position="center" captionalign="center |
+ | <gallery position="center" captionalign="center"> |
Cece crop01.png|Cecelia tells Corvo about the staff. |
Cece crop01.png|Cecelia tells Corvo about the staff. |
||
Abandoned apartment1.png|The abandoned apartment. |
Abandoned apartment1.png|The abandoned apartment. |
||
| Line 72: | Line 82: | ||
Abandoned apartment2.png|A room in the abandoned apartment. |
Abandoned apartment2.png|A room in the abandoned apartment. |
||
loyalists1.png|General Notice written by Havelock in The Loyalists mission. |
loyalists1.png|General Notice written by Havelock in The Loyalists mission. |
||
| + | the loyalists guards talking.png|Guards conversing in the pub. |
||
| + | the loyalists havelocks note.png|Havelock's note. |
||
1 the loyalists2.jpg|City Watch at the Hound Pits. |
1 the loyalists2.jpg|City Watch at the Hound Pits. |
||
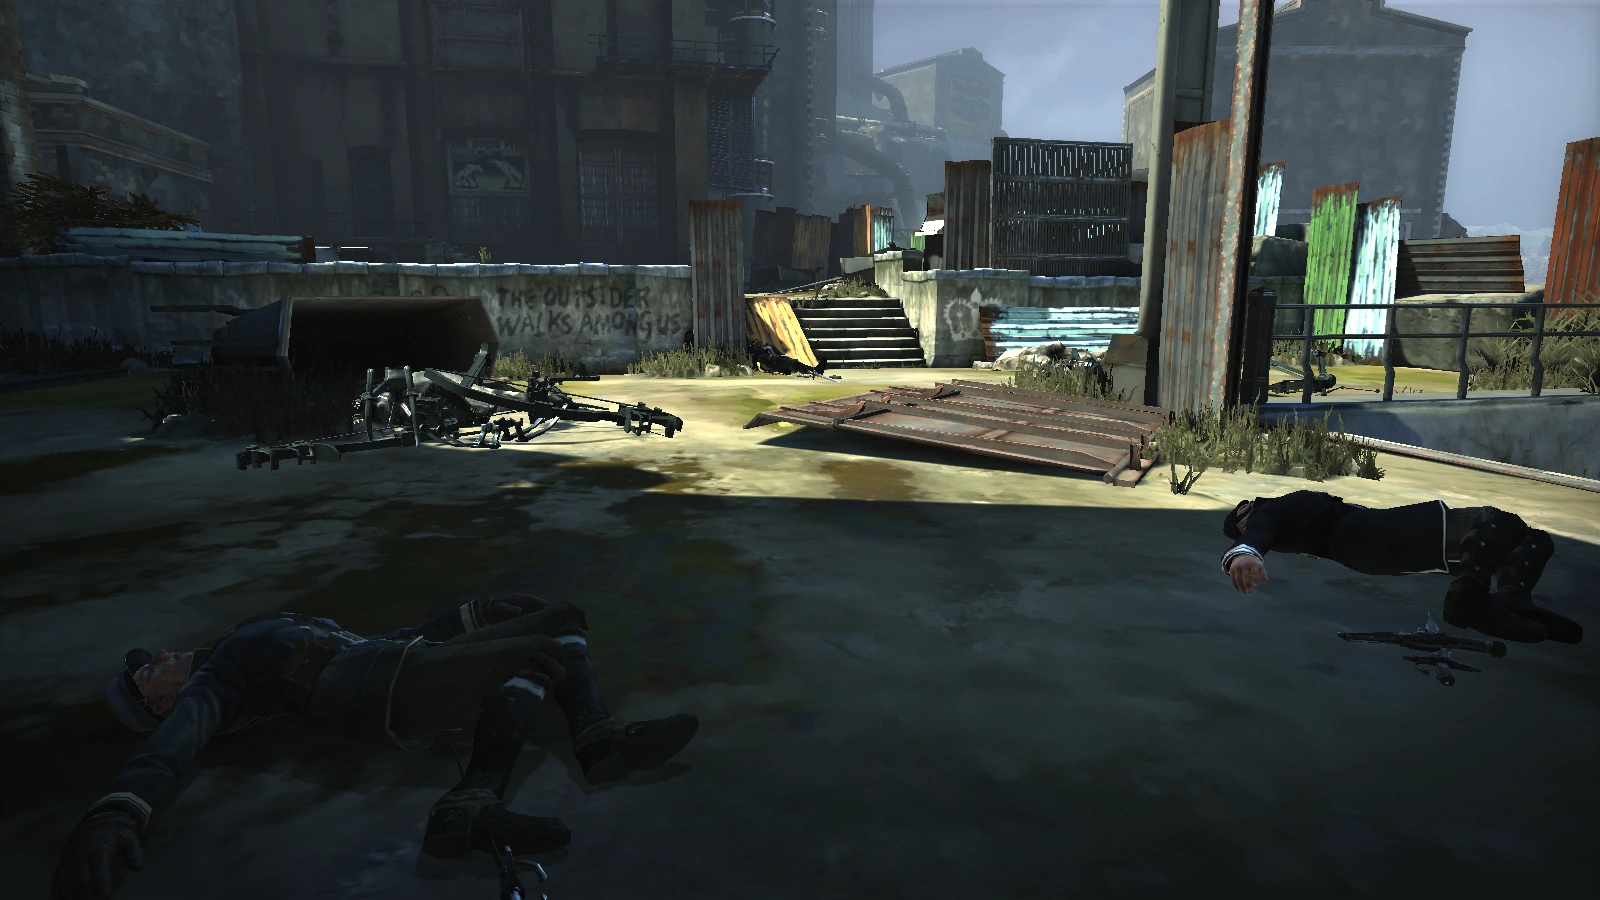
bodies1.png|The bodies of Lydia and Wallace in low chaos. |
bodies1.png|The bodies of Lydia and Wallace in low chaos. |
||
loyalist corpses high chaos.png|Callista, Wallace, and Lydia's corpses in high chaos. |
loyalist corpses high chaos.png|Callista, Wallace, and Lydia's corpses in high chaos. |
||
| + | the loyalists workshop entrance.png|Corvo blinks down to the balcony of Piero's Workshop. |
||
| + | piero sokolov hiding under table.png|Sokolov and Piero hide underneath the tables in Piero's workshop. |
||
loyalists2.png|Sokolov and Piero take refuge in Piero's workshop. |
loyalists2.png|Sokolov and Piero take refuge in Piero's workshop. |
||
| + | the loyalists03.png|Havelock's empty room and the blueprints. |
||
| + | the loyalists blueprints.png|The blueprints in Havelock's room. |
||
1 piero loyalists.png|Piero reads the blueprints for his arc pylon. |
1 piero loyalists.png|Piero reads the blueprints for his arc pylon. |
||
0 piero sokolov.png|Piero and Sokolov study the new arc pylon. |
0 piero sokolov.png|Piero and Sokolov study the new arc pylon. |
||
| + | the loyalists whale oil tank.png|Corvo carries a whale oil tank to Piero's arc pylon. |
||
| ⚫ | |||
arc pylon2.png|Piero's arc pylon. |
arc pylon2.png|Piero's arc pylon. |
||
loyalists ash.png|Guards turned to ash after the arc pylon is set to "kill". |
loyalists ash.png|Guards turned to ash after the arc pylon is set to "kill". |
||
| ⚫ | |||
piero sokolov arc pylon loyalists.png|Sokolov and Piero look at the new arc pylon. |
piero sokolov arc pylon loyalists.png|Sokolov and Piero look at the new arc pylon. |
||
1 sokolov piero loyalists.jpg|Piero and Sokolov after all the enemies have been neutralized. |
1 sokolov piero loyalists.jpg|Piero and Sokolov after all the enemies have been neutralized. |
||
| Line 90: | Line 107: | ||
</gallery> |
</gallery> |
||
</div> |
</div> |
||
| + | |||
==Low chaos Walkthrough== |
==Low chaos Walkthrough== |
||
<gallery captionalign="center" position="center" hideaddbutton="true"> |
<gallery captionalign="center" position="center" hideaddbutton="true"> |
||
| − | File:Dishonored, Mission 8 The Loyalists (No commentary)|Walkthrough |
+ | File:Dishonored, Mission 8 The Loyalists (No commentary)|Walkthrough. |
| − | *SPOILERS* Dishonored - Low Chaos Walkthrough - Mission 8 The Loyalists|Alternate Walkthrough |
||
</gallery> |
</gallery> |
||
| ⚫ | |||
| − | ==High chaos Walkthrough== |
||
| − | <gallery captionalign="center" position="center" hideaddbutton="true"> |
||
| − | File:Dishonored - High Chaos Walkthrough - Mission 8 The Loyalists|Walkthrough |
||
| − | </gallery> |
||
| + | [[ru:Лоялисты (задание)]] |
||
| ⚫ | |||
| + | [[pl:Lojaliści (misja)]] |
||
| + | [[fr:Les Loyalistes]] |
||
| + | [[it:I Lealisti]] |
||
| + | [[zh:保皇党(任务)]] |
||
| − | {{DEFAULTSORT: |
+ | {{DEFAULTSORT:Loyalists, The}} |
| − | [[Category:Missions]] |
+ | [[Category:Dishonored Missions]] |
[[Category:Walkthroughs]] |
[[Category:Walkthroughs]] |
||
| − | [[Category:Gameplay]] |
||
Latest revision as of 10:59, 21 February 2019
|
Spoiler warning!
This article contains plot spoilers. If you do not yet know of this information, it is recommended that you read at your own risk or not at all. |
This article is about the mission The Loyalists. You may be looking for the Loyalist Conspiracy.
The Loyalists is the eighth mission in Dishonored, in which Corvo Attano must return to the Hound Pits Pub in search of Emily Kaldwin.
Briefing
You've returned to the Hound Pits Pub to pick up the trail of your old "allies" and find out where they have taken Emily.
Cecelia tells you what happened to everyone, death and betrayal waits.
Infiltration
Cecelia attempts to open the sealed door.
The mission starts in the abandoned apartment behind the Pub. Cecelia is attempting to break her way out of the inner door, which has been sealed. When Corvo appears, she tells him about Havelock, Pendleton, and Martin's betrayal. The nature of her explanation is dependent on Corvo's chaos level: if Corvo's chaos is high, Wallace, Lydia, and Callista will have been violently murdered. If Corvo's chaos is low, Callista will have been spared, locking herself in Emily's Tower, and Wallace and Lydia's deaths will have been less violent. In both instances, Samuel has gone missing, and Emily has been kidnapped.

The scene upon leaving the abandoned apartment.
Go up the stairs and there will be a room to Corvo's left with one bottle each of Sokolov's and Piero's elixirs. To the right will be the exit with two keys hanging next to it, the Abandoned House Key and Old Port District Sewer Key. Grab both and exit through the door.
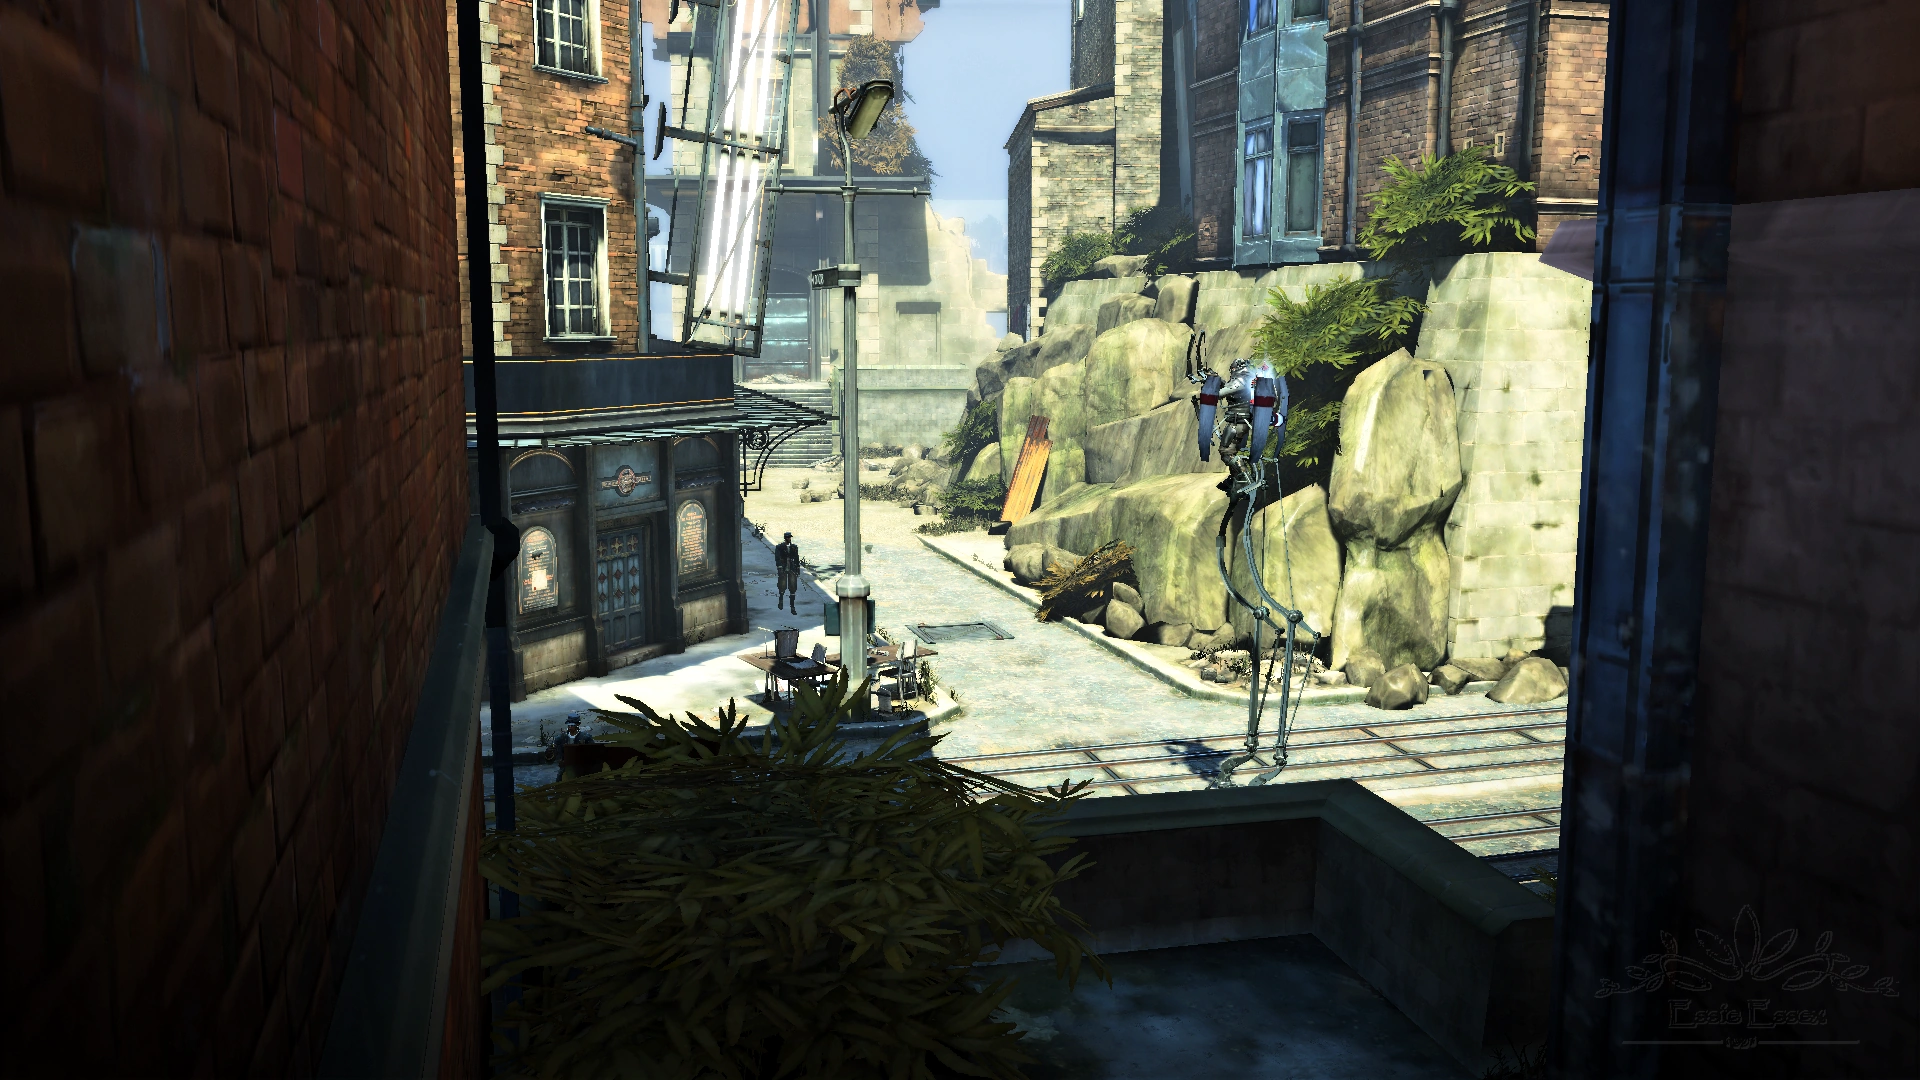
Outside are four guards in front of the door. One will enter the Pub, one will begin to patrol to the left, and two will start to converse and head toward the apartment before taking their respective positions. A tallboy also patrols the street.
There are several methods to enter the Pub:
- Use Blink to cross to the second floor walkway and sneak through the open window into the bunk room.
- Use Possession Tier II to control one of the guards outside and walk through the back door.
- Use the sewer access grate and enter through the basement.
Corvo can overhear a conversation between two guards in the barroom and learn that Anton Sokolov and Piero Joplin are still alive and barricaded in Piero's Workshop. Grab Havelock's note in the barroom. Corvo can then go to his room, evading or neutralizing guards along the way (including several in the room itself), and retrieve Emily's drawing and note.
The signal flare.
Exit through the window onto the catwalk. Both Piero's Workshop and Emily's Tower can be accessed from this point. In low chaos, Corvo can go directly to Emily's room and find Callista hiding inside. There will be a note on the bed explaining the use of the signal flare; use it to call Samuel. In high chaos, Corvo must sneak to the open yard and retrieve the key from Callista's corpse.
Side Objectives
Rescue Piero and Sokolov

Corvo activating the Arc Pylon.
Piero and Sokolov are barricaded in Piero's Workshop, hiding from the new Lord Regent's forces. They can be heard talking amiably as Corvo enters the building; when he approaches them, the two will inform him about their nearly-completed project, a new kind of Arc Pylon that can be set to stun or kill enemies over a much wider range than standard Pylons. However, it needs final adjustments, and the blueprints have been taken from them; Corvo must acquire the blueprints from Havelock's room and the whale oil to fuel the machine for it to work. Corvo can then choose to set the weapon's power level high enough to incinerate all enemies in the area, or low enough to render them all unconscious.
Corvo will be able to purchase ammunition and upgrades for the last time by completing this objective, as nothing can be purchased after this mission.
Special Actions
- Used the Arc Pylon to Rescue Piero and Sokolov
- Rescued Piero and Sokolov by Defeating Havelock's Troops
- Found Emily's Drawing
General Mission Notes

Unconscious guards at the Hound Pits.
- There are a total of three tallboys patrolling the area.
- Other than the guards outside the Pub, there are several more inside the building itself, with a large concentration on the top floor in Corvo's room.
- Cecelia will attempt to flee after the Arc Pylon is activated, leaving a note for Corvo that explains her actions.
- The blueprints Piero needs for the Arc Pylon are found in a trashbin in Havelock and Martin's office.
- A rune is located on the desk next to an audiograph machine on the second floor of Piero's Workshop.
- Killing Cecelia allows Corvo to take her key without conversing with her, but Sokolov or Piero's deaths will result in failure of their side-quest. Samuel and Callista cannot be killed without ending the game.
- If the signal flare has already been lit, however, it is possible to kill Callista.
- In low chaos, on the desk in Emily's tower will be one elixir and one remedy. In high chaos, Corvo will find an arsenal of ammo and weapons.
Trivia
- The Special Action "Rescued Piero and Sokolov..." can still be achieved even if Corvo murders them and then defeats all other hostiles.
- Pendleton's audiograph player, containing the aristocrat's last entry, can be found mysteriously abandoned in the sewers.
- Possessing or hitting Callista, Piero, or Sokolov with a sleep dart will cause them to be counted as dead for the ending sequence. They will also fall to their knees after being possessed, and Sokolov may attempt to flee and call for help.
- Samuel will briefly react upon seeing a friendly corpse.
- There is a note on the door to the pub detailing Havelock's orders for the remaining conspirators. Cecelia will not be mentioned in it, supporting her claim that Havelock likely did not remember that she existed.
Gallery
")
")
")
")
")
")
")
")
")
")
")
")
")
")
")
")
")
")
")
")
")
")
")
")
")
")
")
")
Low chaos Walkthrough
 (21 KB)")
Missions in Dishonored | |
|---|---|
| Main Campaign |
Returning Home • Dishonored • High Overseer Campbell • House of Pleasure • The Royal Physician • Lady Boyle's Last Party • Return to the Tower • The Flooded District • The Loyalists • The Light at the End |
| The Knife of Dunwall |
None Like Her • A Captain of Industry • Eminent Domain • The Surge |
| The Brigmore Witches |
Choosing Your Mark • A Stay of Execution for Lizzy • The Dead Eels • Delilah's Masterwork |