|
Spoiler warning!
This article contains plot spoilers. If you do not yet know of this information, it is recommended that you read at your own risk or not at all. |
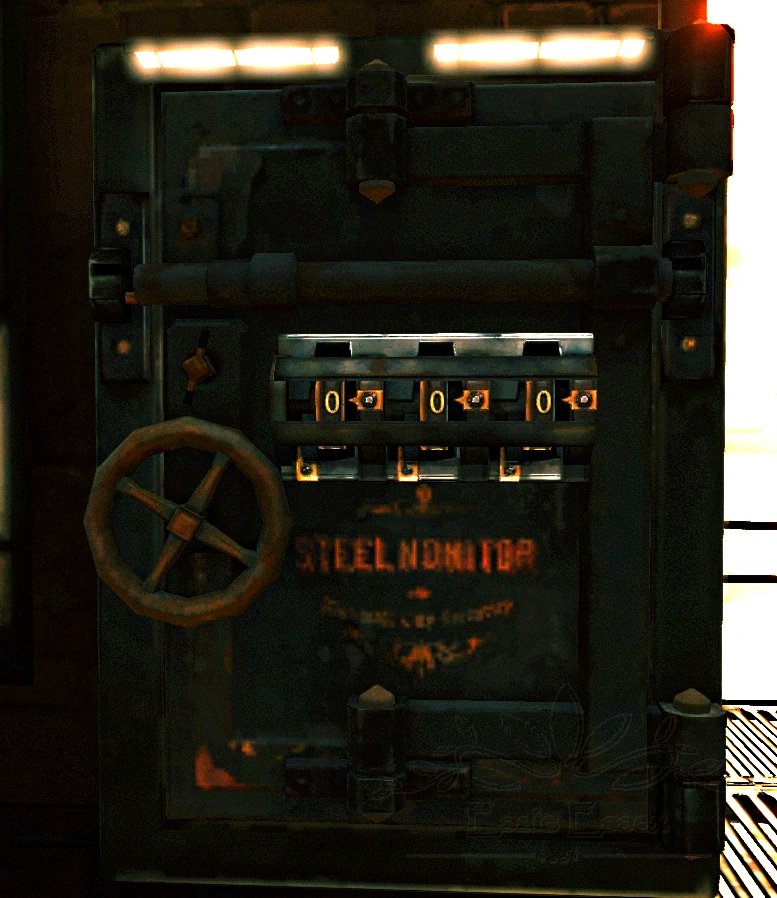
A combination safe.
In Dishonored, Dunwall City Trials, The Knife of Dunwall, The Brigmore Witches and Dishonored 2, there are safes and locked doors that require combinations to open. In Dishonored and its DLC, these codes are often one specific code or one of a few codes. In Dishonored 2, safe combinations are mostly random. Below is a list of all combinations found in the Dishonored franchise.
Dishonored Combinations
| Combination | Mission | Location and Description |
|---|---|---|
| 4 5 1 | Dishonored | The safe in the sewers past the spot where Corvo Attano gets his gear. A note written for a man named Jelly can be found nearby. The combination is found by looking past the empty bottles on the shelf behind the safe. |
| 2 8 7 | High Overseer Campbell | The safe in the Offices of Dr. Galvani. The clue is in Doctor Galvani's building; reading his journal hints that his favorite numbers are the combination. The code is also written on the corner of one of his chalkboards displaying a drawing of a whale. |
| 2 1 7 | High Overseer Campbell | The locked kennel door in the kennel below the Office of the High Overseer. The clue is in the kennel cell with the two prisoner corpses. |
| 2 0 3 | High Overseer Campbell | The barracks safe in the Overseer's Back Yard. The combination can be found in three different locations: in the alley past Holger Square; in a note in the mess hall; and under the bed to the left of the safe. It can also be recovered from an Overseer named Berthold, if Corvo chooses to save him and his sister, Elsa, from his fellow Overseers. |
|
1 3 8 / 6 9 6 |
House of Pleasure | The safe in the Art Dealer's Apartment. The combination is given by Bunting when interrogating him at the Golden Cat, provided that Corvo has first either visited the safe or Slackjaw has given Corvo a second mission. |
|
4 7 3 |
The Royal Physician | Pratchett's safe in his house near Kaldwin's Bridge. The clue is given in a note reminding Pratchett to find the number in each of the paintings in his house: the "crowded place", the shipping yard, and the whaling ship. |
| 2 9 4 | The Royal Physician | The safe behind the painting in the wrecked building where the prisoner pen is outside the Sokolov estate. The combination is given to Corvo if he disables the Wall of Light for the prisoners. |
| 9 3 5 | Return to the Tower | Lord Regent Hiram Burrows' safe in his private quarters in Dunwall Tower. The combination is given to Corvo by the Propaganda Officer so he can fulfill the non-lethal objective. The Propaganda Officer is found in the broadcast station. |
| 4 2 8 | The Flooded District | The underwater safe at the start of Central Rudshore in the Flooded District. The combination can be learned from a note found in an abandoned building, past the bridge leading to Daud's base, near the River Krust cluster. |
| 5 2 8 | The Flooded District | Jelly's safe in the Old Port District sewers. The clue is next to the safe, along with The Thirteen Months, the book required to solve it. |
Dunwall City Trials Combinations
| Combination | Mission | Location and Description |
|---|---|---|
| Random | Burglar - Expert | The safe in the room facing the stairs, on the second floor. The combination is generated randomly between each playthrough but a clue can be found on the second floor. The code is written on the third floor, all around the broken window. The first digit is at the base of the left one, the second on the brick wall behind and the third in the middle of top frame. |
The Knife of Dunwall Combinations
| Combination | Mission | Location and Description |
|---|---|---|
|
Random |
A Captain of Industry |
The safe in the guardhouse, near the wall of light. If Daud purchased the favor at the start of the mission, a marker is added, and the combination can be found on the slaughterhouse's wall across the yard, behind breakable wood. The combination will be completely random and can only be deduced by checking the wall. If the favor was not purchased, the combination can be found in a note located underwater, below the cargo boat to the right of the slaughterhouse yard. It will be one of the four combinations listed to the left. |
| 5 1 2 | A Captain of Industry | The safe in Rothwild's office. The clue is in the Injury Report Code note, which states the number of injuries and fatalities over the past week. |
The Brigmore Witches Combinations
| Combination | Mission | Location and Description |
|---|---|---|
|
1 6 5 / 2 3 8 |
The Dead Eels |
The locked doors to the engine room below the Textile Mill, accessed through either the mill's basement or the Sewer System. The code can be acquired by making a deal with either Nurse Trimble or the Geezer (in this case the last digit will have to be guessed), or by finding the note in the Hatter mechanic's apartment. The key to the locked cabinet containing the note can be found on the corpse of the mechanic in the sewers. |
Dishonored 2 Combinations
| Combination | Mission | Location and Description |
|---|---|---|
| 4 5 1 | A Long Day in Dunwall | Doctor Galvani's safe in the laboratory room of his new apartment near Dunwall Tower. The code can be found by collecting the Sokolov painting from the wall. |
| Random (does not use digits 0, 8 or 9, does not repeat digits) | Edge of the World | The safe can be found in the third floor of the Overseer Outpost in the Campo Seta Dockyards. Next to the safe is a book, The Seven Strictures, which is used to help solve the clue provided in a note in an adjacent room. |
| Random | Edge of the World | The Winslow Safe Store competition safe. The combination is found in a note in the store's cash register. |
| Random | The Good Doctor | A safe on a dilapidated floor overlooking the Addermire main lobby. The combination can be found in a note nearby. |
| Random | The Clockwork Mansion | A safe in Correy Brockburn's apartment in Lower Aventa. The combination is written behind some bottles on a nearby blackboard. Only two of the numbers are legible; the third must be guessed. |
| Random | The Royal Conservatory | A safe in the bloodfly-infested lecture hall in Cyria Gardens. The combination is sold by the black market shop. |
| 2 3 8 | A Crack in the Slab | The safe in the bloodfly-infested storage room with a furnace. Burn the wolfhound's corpse in the past to remove the bloodfly hive in the primary present time. An opened safe with the code will appear in its place. Alternatively, access the room during the alternate present time to find the code. |
| 4 5 1 | Death to the Empress | Galvani's safe again. The code can be found in the same place, though there is no painting in the way this time. |
Trivia
- The first safe combination found in Dishonored, "451," is a continued reference which started with the System Shock game series from the now defunct game company Looking Glass Studios[1] for which Dishonored's co-creative director Harvey Smith worked. This reference is also observed in more games by ex-employees of Looking Glass Studios.
- The number itself is a reference to Ray Bradbury's book Fahrenheit 451,[2] a story about extreme censorship in a dystopian future and which title designates "the temperature at which book-paper catches fire and burns." In a reversed interpretation, its use by game developers symbolize creativity.
- Dishonored 2 continues the tradition of beginning with "451".