(Editing a gallery) Tag: gallery |
Tags: Visual edit apiedit |
||
| Line 30: | Line 30: | ||
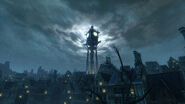
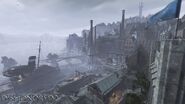
Dunwall Dis 2 Promo.jpg|Dunwall in ''Dishonored 2'', overshadowed by the Clocktower. |
Dunwall Dis 2 Promo.jpg|Dunwall in ''Dishonored 2'', overshadowed by the Clocktower. |
||
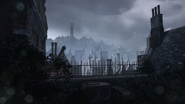
Clocktowerdishonored2.jpg|The Clocktower, seen in Dishonored 2. |
Clocktowerdishonored2.jpg|The Clocktower, seen in Dishonored 2. |
||
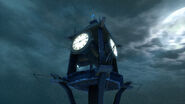
| − | Clocktowerdishonored2front.jpg|The Clock |
+ | Clocktowerdishonored2front.jpg|The Clock front. |
</gallery> |
</gallery> |
||
Revision as of 15:59, 21 November 2016

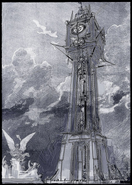
The Clocktower in Dunwall.
The Clocktower of Dunwall is the tallest structure in Dunwall save for Dunwall Tower itself.[1] It is situated on the northern edge of the Estate District,[2] and stands out significantly among the city's many old and crumbling buildings. It has a large metal lattice-style of architecture, which likely holds in the clocktower's mechanisms, and it can be seen from almost anywhere in Dunwall due to its elevated position.
The clock chimed at the top of every hour.[1]
History
On 8th Day, Month of Darkness, 1851, roughly after the second hour in the morning,[1] Empress Emily Kaldwin climbed the Clocktower for the view it gave her of the surrounding city.[2]
Trivia
- The Clocktower is based on London's Elizabeth Tower, often referred to as Big Ben.
- Given its unusual metal design it is likely that the clocktower was constructed some time after the beginning of Dunwall's period of industrialization.
- During Corvo's time in the Estate District, the clocktower rings four times at regular intervals.
- The Clocktower's bell sound is identical to the bell sound in Team Fortress 2 used for halloween maps.
- The Clocktower can be fully seen in the Void during the introduction of The Knife of Dunwall, None Like Her.
- Despite its iconic appearance, the Clocktower is never directly visited, though it was originally intended to be part of a Parliament mission that was cut from the final game.[3]

