Spoiler warning!
This article contains plot spoilers. If you do not yet know of this information, it is recommended that you read at your own risk or not at all.
Daud, master assassin and murderer of Empress Jessamine Kaldwin, is visited by the Outsider shortly after the Empress' assassination. Warning Daud of his impending demise, the Outsider gives Daud a mystery to solve in his effort to seek redemption, with only a single clue: the name "Delilah." Daud's second-in-command Billie Lurk informs him of a whaling ship christened the Delilah, owned by the savage whaling entrepreneur Bundry Rothwild, and located at the Rothwild Slaughterhouse.
Bundry Rothwild is a ruthless businessman who owns a slaughterhouse and a fleet of whaling ships, including a ship called The Delilah. Infiltrate the Rothwild Slaughterhouse and find out what's behind the name.
Infiltration
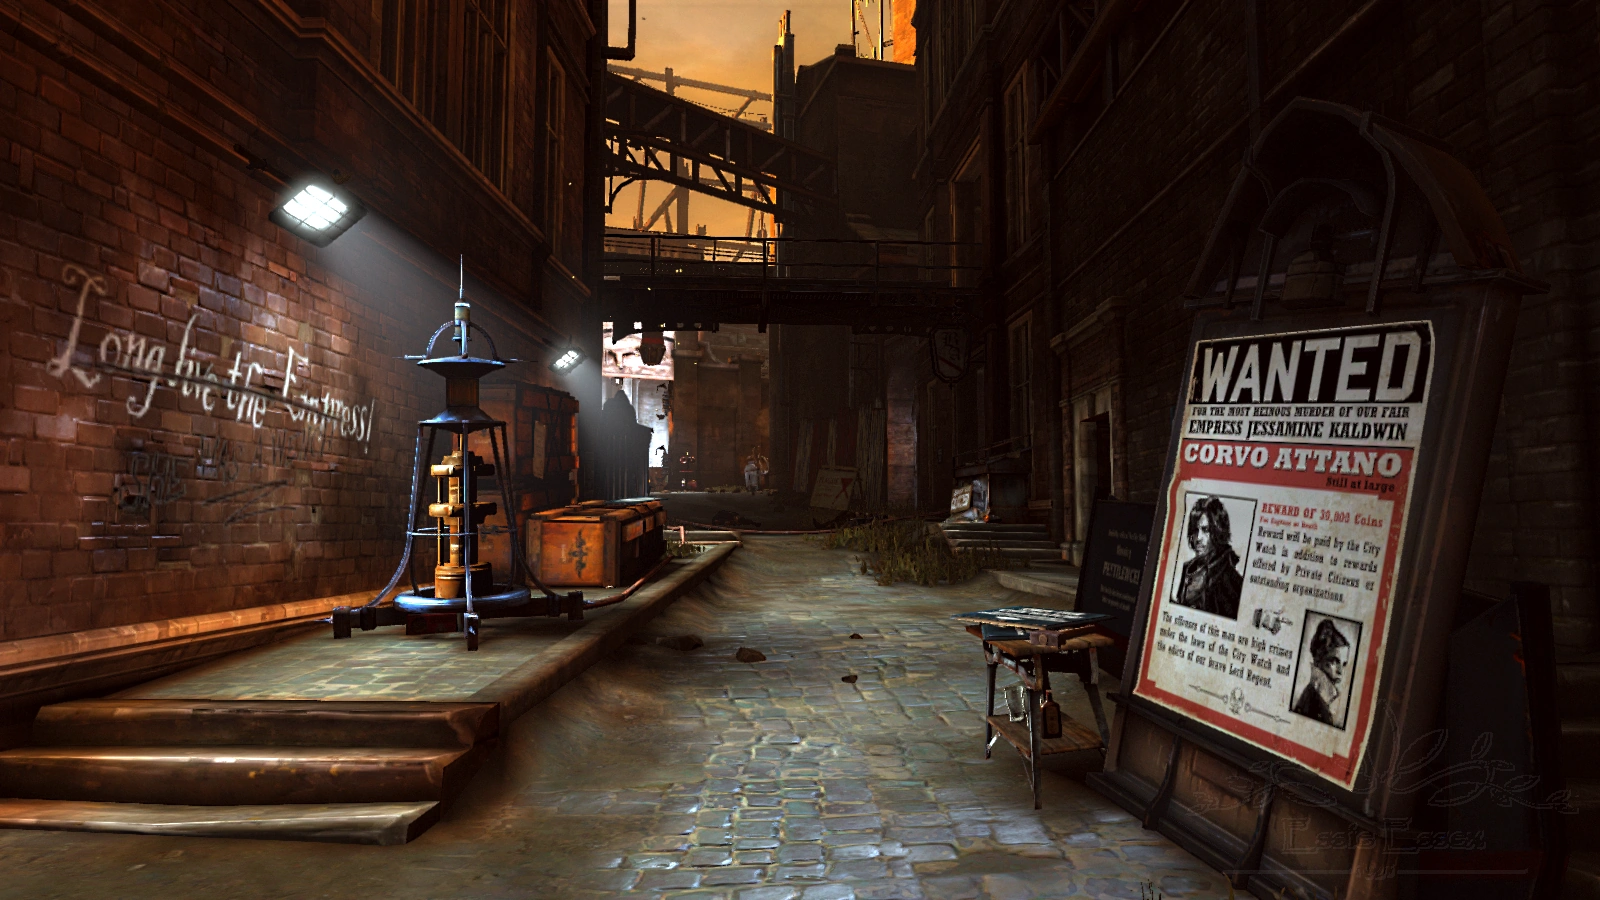
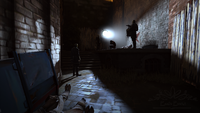
Slaughterhouse Row.
Slaughterhouse Row
To complete the main objective, Daud must first make his way to the slaughterhouse, bypassing a Wall of Light and one to two Arc Pylons.
Before entering Slaughterhouse Row, Billie Lurk tells Daud that Rothwild's workers are on strike. Just below the entrance to the area, a worker can be seen quarreling with a City Watch Officer and a Butcher about his time card. After the debate is over, the Officer walks away, giving Daud plenty of time to get past them with a quick Blink.
The easiest strategy is to approach from the right side of the street, navigating from building to building via rooftops, and blinking to the left right before the Wall of Light. Several members of the City Watch and a bone charm are found in these buildings.
Rothwild Slaughterhouse Yard
After passing the Wall of Light, Daud will have access to the yard surrounding the slaughterhouse.
A time card is required to enter the main door, which can be obtained in two ways:
Immediately after the Wall of Light is a Watch Outpost, and inside is a safe containing a time card. The combination varies per game. It can be found in a note in the water underneath the crane or by purchasing a favor at the start of the mission.
Around the corner of the building to the left of the Wall of Light, two laborers have been locked up for civil unrest. If Daud obtains the key to their cell and deactivates the Wall of Light for them, one of the men will give Daud his time card.
Daud can also choose to climb over the cell bars and pickpocket the timecard from the detained laborers; however, this will cause them to alert any nearby guards.
In addition, there are several alternative routes into the slaughterhouse if a timecard cannot be procured:
There is an entrance to the building high on its right side, accessed via crane. The crane requires a whale oil tank to power it, which can be found on the nearby riverside.
With Agility I it is possible to reach the top without powering the crane by standing on something reasonably tall and blinking at the top of an Agility-assisted jump.
On the opposite side of the yard, near an Arc Pylon, is a switch to open the sewers below. Also near this entrance is a bone charm.
A swarm of rats inhabit this entrance, so caution is advised.
In order to disable the Arc Pylon, Daud must find the key to the whale oil tank cover. It can be found in a boat in the storage house or on a Butcher guarding the house.
Inside the Rothwild Slaughterhouse
The shipping room.
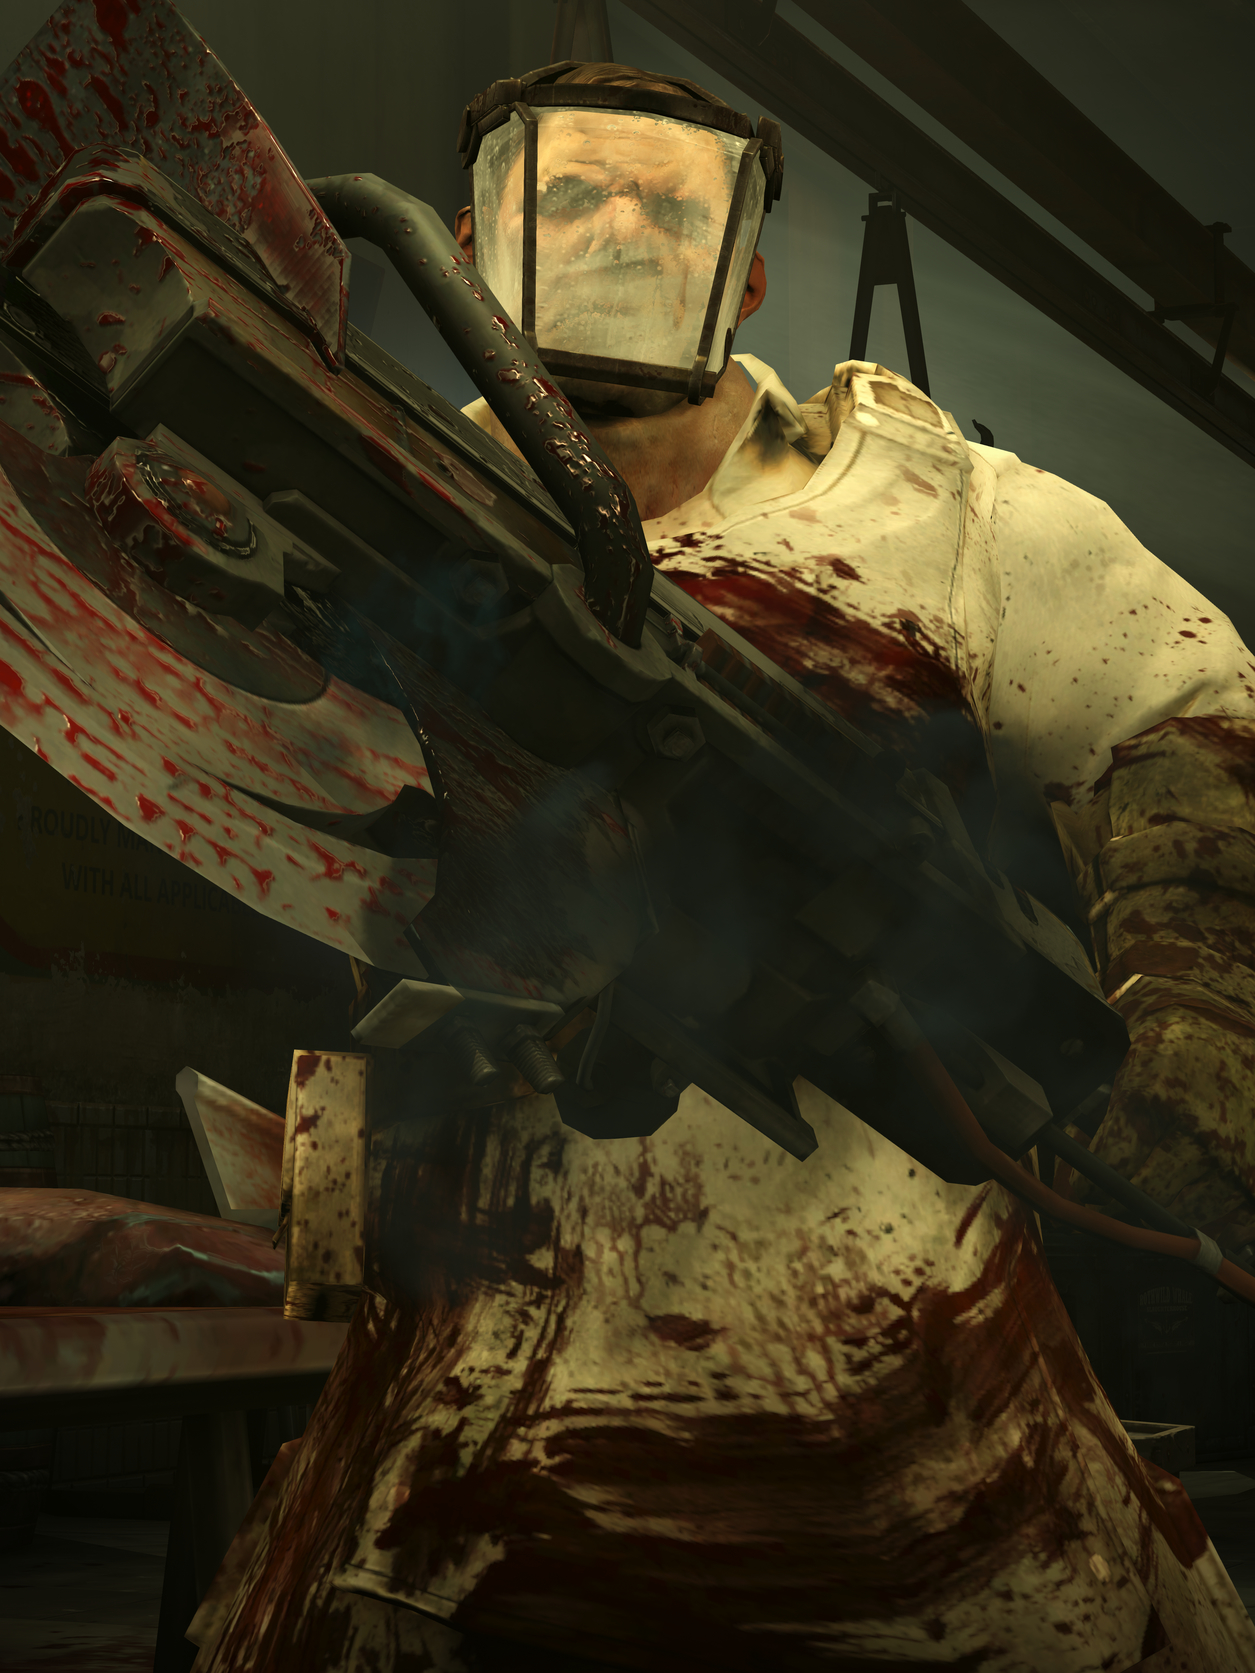
Upon entering the Rothwild Slaughterhouse, Daud will come across a laborer speaking to two Butchers. One of the Butchers will eventually kill the laborer with his buzzsaw, saying that he will teach him a lesson. Upon the man's death, the Butcher tells the other that he only meant to scare the man. Daud can save the laborer if he wishes.
To find Rothwild, Daud must make his way to the Slaughterhouse Offices.
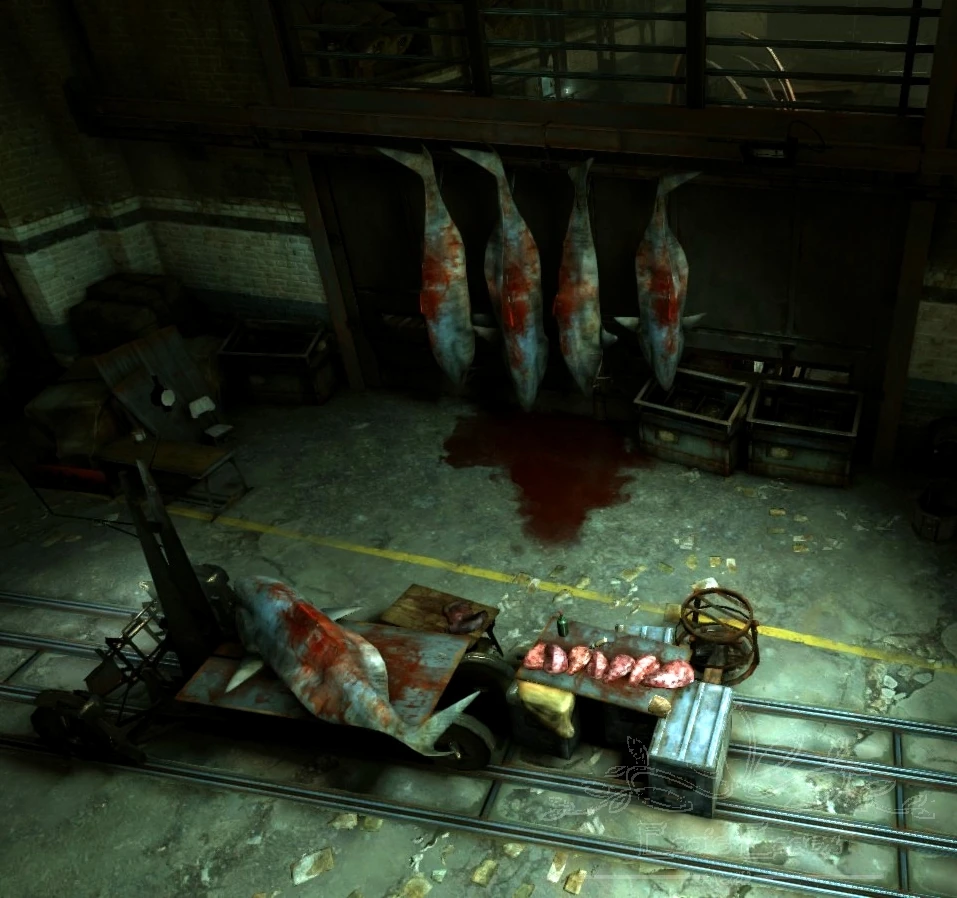
If Daud enters the slaughterhouse through the main entrance or through the entrance up high, he will find himself in a shipping area filled with crates and dead fish. A large rail car will be on his right, giving him an easy way to hide.
At the other end of the room, Daud will be able to spot the laborer and the butchers, who block the entrance to the next room. To get to the offices, Daud must make his way past the Butchers in the meat packaging room. He can easily blink up to the track near the ceiling, sneaking above the Butchers. From here, he can either go straight into the next room or take a safer passage through the chute.
On the other side of the next room is a flight of stairs. The door at the top, leading to the offices, is locked, so Daud must find another way around. To get into the room, he must blink up to a walkway connecting Bundry Rothwild's office with the rest of the offices.
A butcher kills a laborer.
If Daud enters through the sewers, he will see the scene with the laborer and the butchers on the floor above as he emerges from the sewers and onto the Killing Floor. The Killing Floor consists of two rooms: one in which the oil is collected from the whale and another in which the dead whale is butchered. From the whale, Daud can blink onto a platform above and onto another platform from which he can then blink onto the balcony of Bundry Rothwild's office or into the room just outside the office. The Slaughterhouse Offices are just across the walkway from there.
Acquiring Information
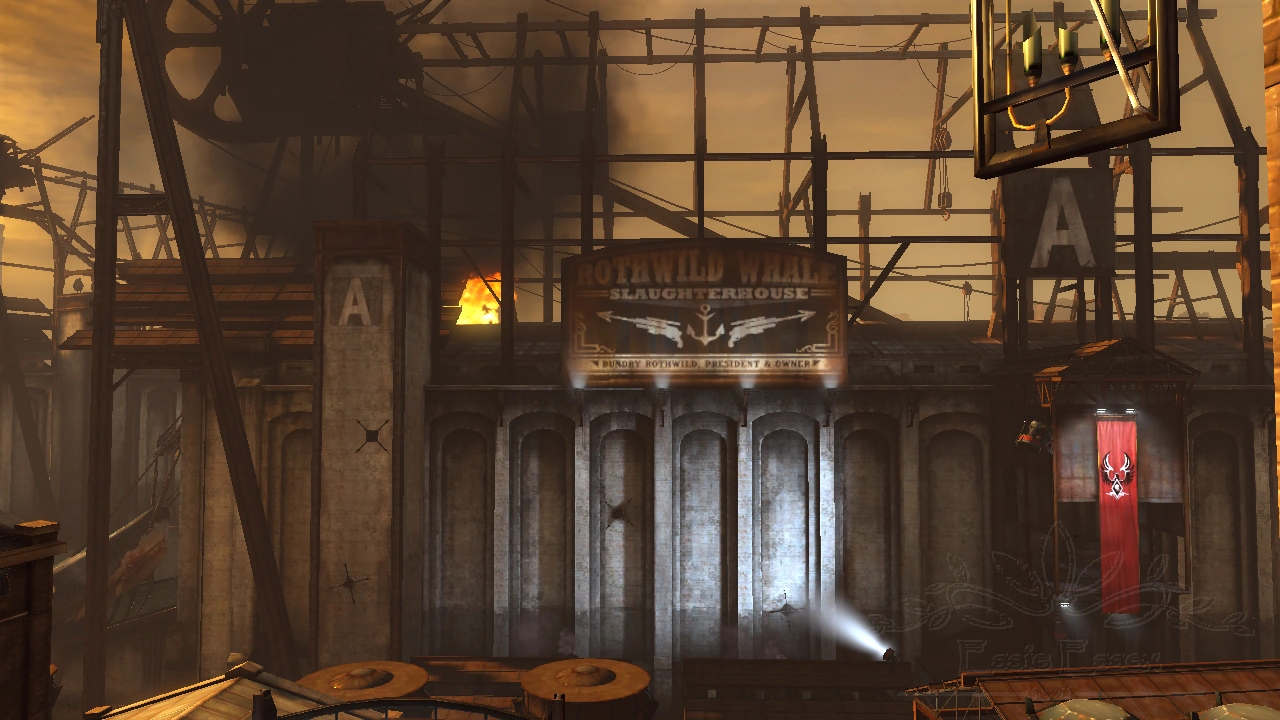
The Rothwild Slaughterhouse on fire.
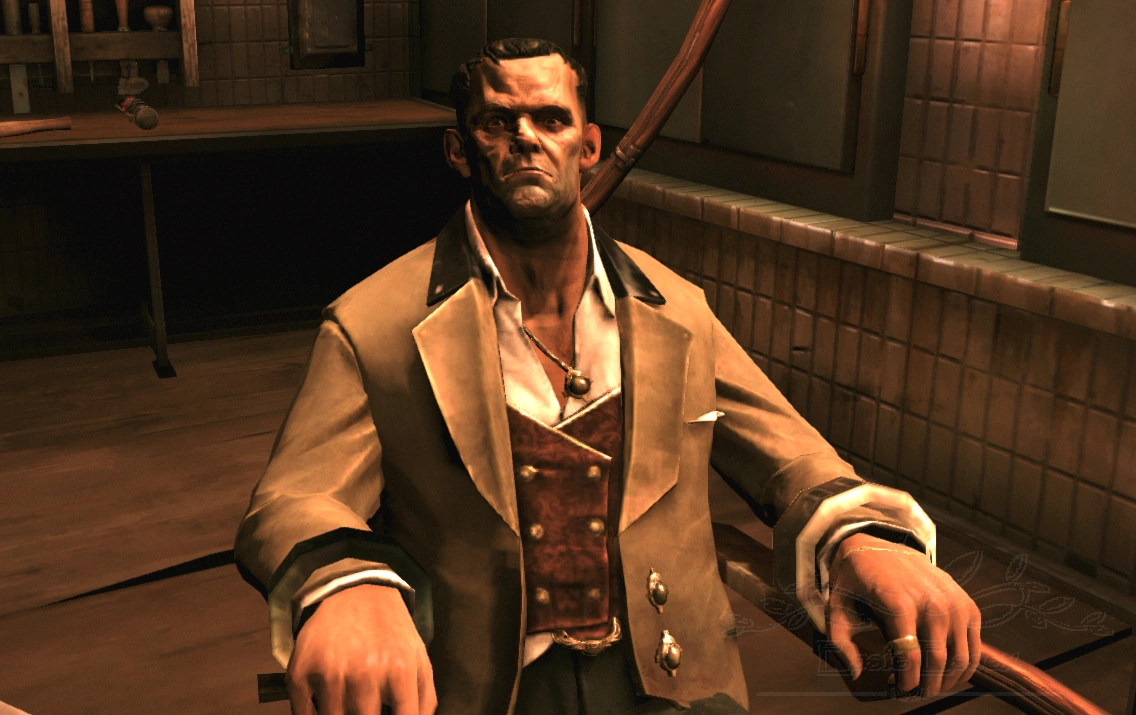
Upon infiltrating the slaughterhouse offices, Daud comes across Rothwild attempting to pry information from Abigail Ames. There are several ways to approach this situation:
Knock Rothwild out and move him to an interrogation chair in the meat locker.
Knock Abigail out and interrogate her in the meat locker.
From the offices, the meat locker can be reached by crawling through a tunnel. It is located in a small room off of the hallway surrounding the offices.
Cooperate with Abigail's plan to destroy the factory by increasing pressure in a series of valves throughout the factory.
Cleaner Hands Note: Cooperating with Abigail to destroy the factory is considered a high chaos action; when attempting Cleaner Hands it is important that none of the workers are near the exploding machinery, as they can be killed by the blasts.
Escape
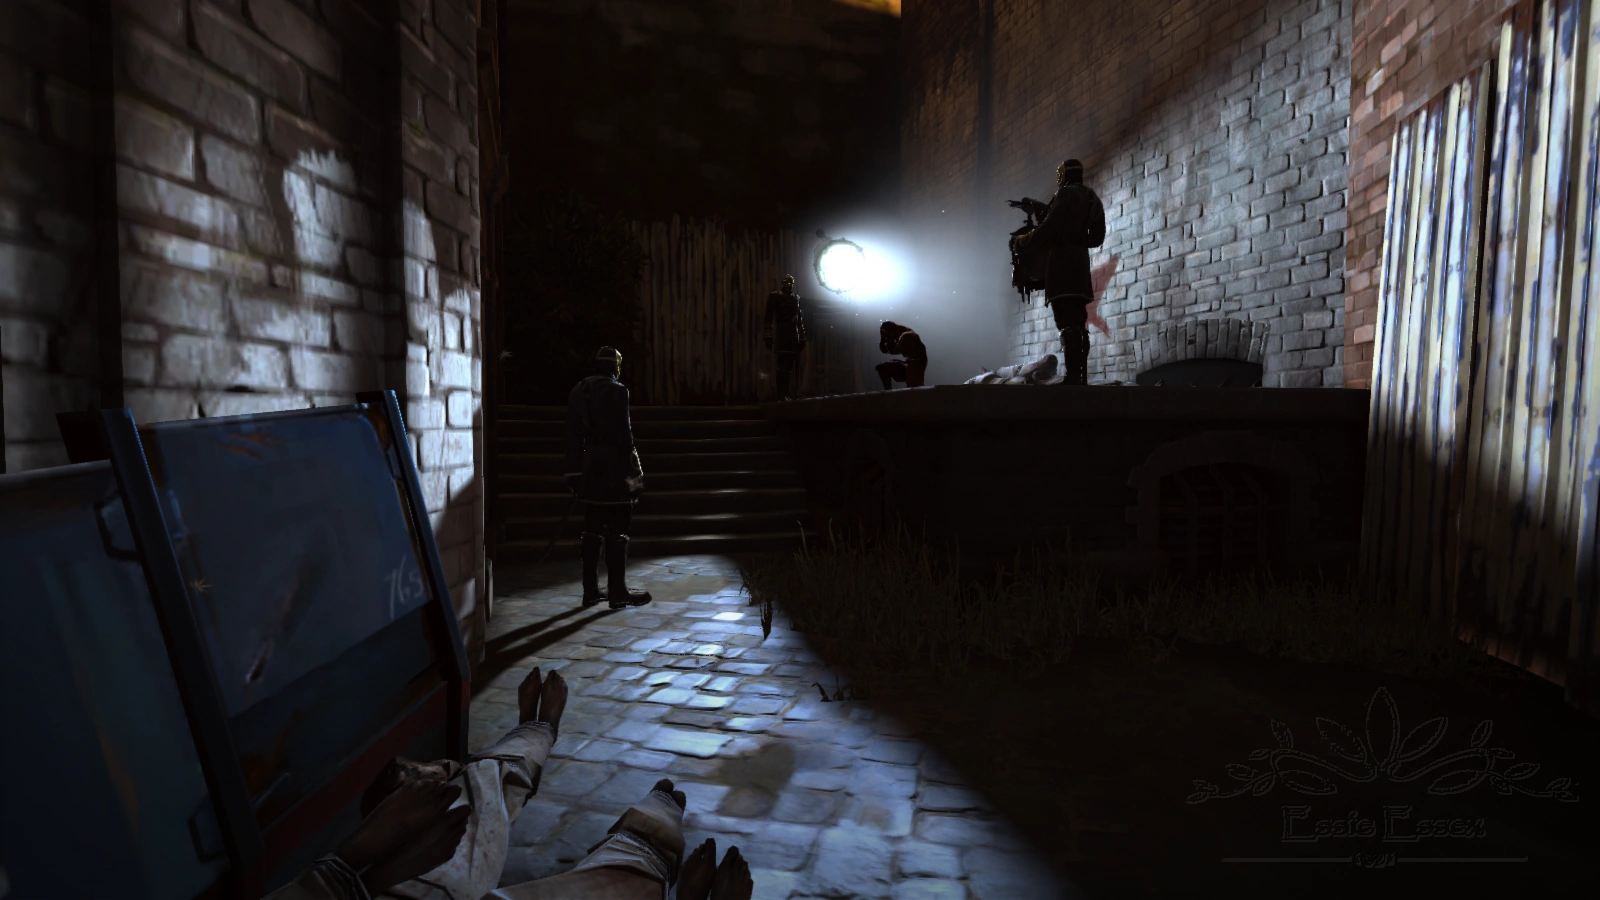
Three Overseers surround Billie.
Upon leaving the Slaughterhouse Yard, Daud will find that the area has been overtaken by Overseers. He can find Billie in an alley surrounded by three Overseers, one of which plays a music box, suppressing Billie's powers. After Daud saves her, Billie will blink to the roof of a nearby building, telling Daud that they should leave before the hounds show up.
Non-Lethal Alternative
Rothwild in the interrogation chair.
After interrogating Rothwild, Daud has the option to seal Rothwild in a crate bound for the far north, neutralizing him and sending him far from Dunwall. The crate is located on the second level of the shipping room.
By technicality, simply leaving Rothwild in the interrogation chair is also considered a non-lethal action. However, this will result in a group of Butchers appearing in the next level, seeking vengeance upon Daud.
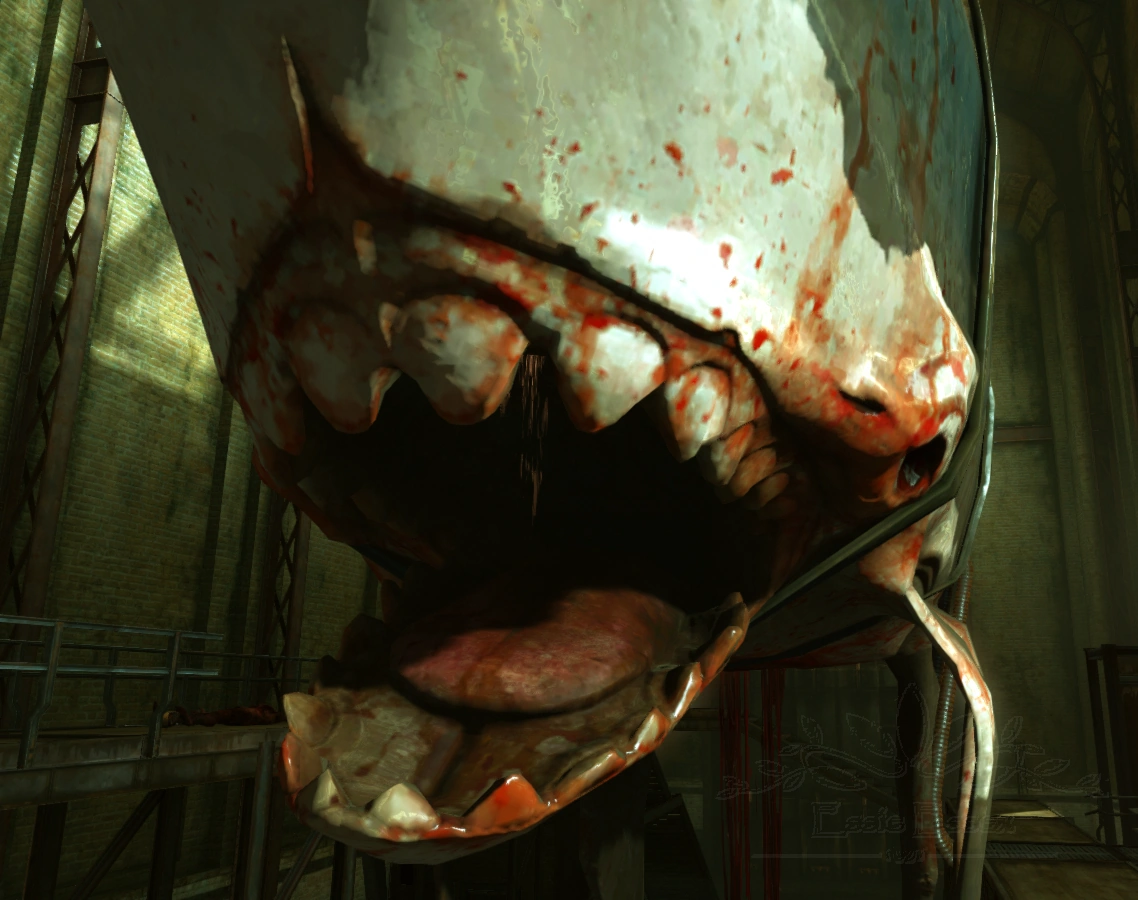
When Daud enters the slaughterhouse, an eviscerated whale can be seen suspended from the ceiling; notes in the area suggest this is a common practice, as processing the living whale yields a greater amount of oil. Daud can choose to use a nearby electrical device to kill the whale and end its suffering.
Doing so will also allow Daud to retrieve the whale's eye to complete the Granny's Recipe side objective.
Killing the whale does not count as a kill for the end level screen or Cleaner Hands.
The safe in Rothwild's office can be opened with a
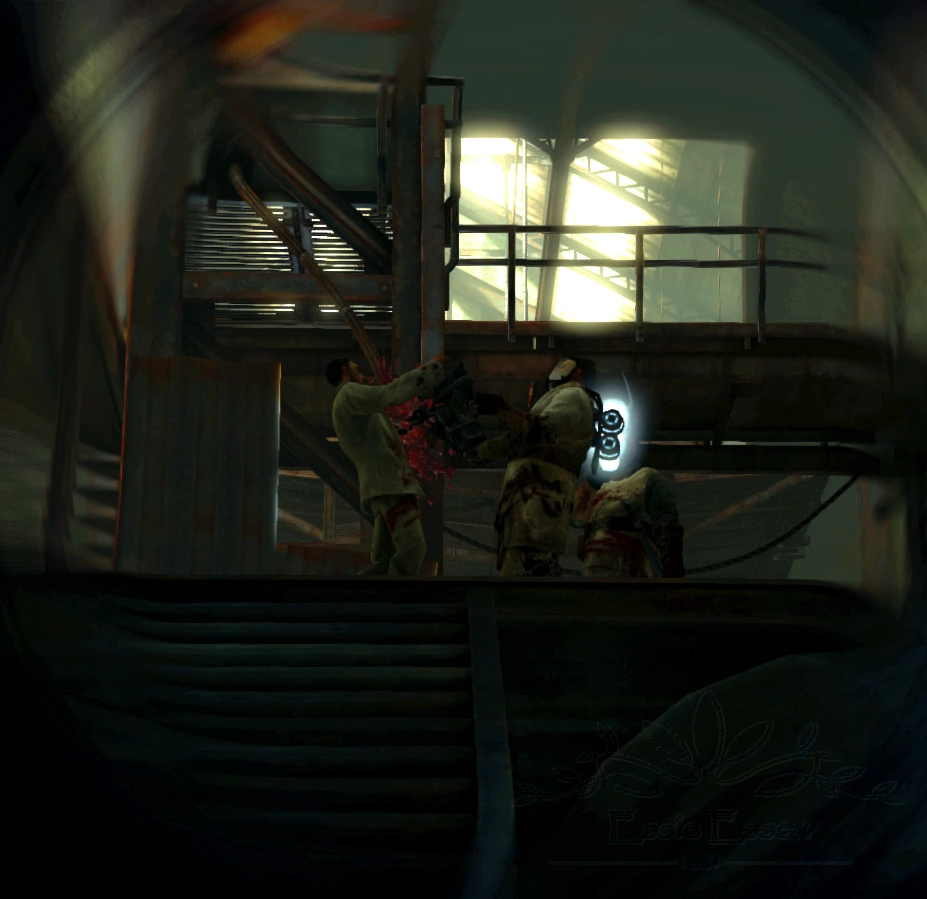
A butcher with a buzz saw.
combination gleaned from a note titled "Injury Report Code" found near Rothwild and Abigail.
If Daud knocks Rothwild out and then leaves to turn the valves on, upon returning he will discover that Abigail has killed Rothwild herself.
The 20 coin from each Butcher's saw does not count towards the coin total of the level, as a varying number of them may appear depending on the actions chosen.
It is possible to attempt to confront Bundry directly and question him outright. Needless to say, he will refuse and run from the office, trying to gather any Butchers in the area to his aid.
Trivia
A fisherman who can be found in a boat in the first section of the mission states that he is working with Abigail Ames on a plan involving the Slaughterhouse laborers' strike. After questioning him again he will mention that the workers will find new jobs in the business of a Lord Ramsey who seems to be the whale-masked man in the mission Lady Boyle's Last Party.
In the German version this mission is called "Big Boss".
Notes found during the level suggest that the crate that Bundry is packed into during the non-lethal course was originally meant for Abigail.
In the shipping room, a missing worker can be found dead in a high alcove next to a note and a rune.
If the Safe Code Favor is not purchased, the combination to the Watch Officers' safe can be found in a pouch on the riverbed near the partially eaten body of a laborer named Jack.
If the Safe Code favor is purchased, neither Jack, nor the notes pertaining to him (including the pouch with the safe combination) will be found during the mission.
Conversely, if the favor is not purchased, and the combination is found in Jack's pouch, there will be no timecard in the safe.
If Daud chooses to kill Bundry with his sword, the animation is the same as the assassination animation of Admiral Havelock.
Gallery
A City Watch Officer gets zapped by an arc pylon at Slaughterhouse Row.
Daud fights a City Watch Officer.
The Rothwild Slaughterhouse Yard.
A dripping whale oil storage vat.
A whale and a man in a boat near the slaughterhouse.
Daud speaks to the man in the boat about the slaughterhouse.
A laborer in a cage in the slaughterhouse yard.
Daud fights butchers in the break house.
The entrance to the sewers underneath the slaughterhouse.
View from under the docks.
The drainage pipe underneath the slaughterhouse.
Blood draining in the slaughterhouse.
Whale bones in the slaughterhouse.
A whale in the Rothwild Slaughterhouse.
A whale with a large gash cut into its belly at the slaughterhouse.
The whale at the slaughterhouse.
Daud puts a whale out of its misery.
Daud fights a butcher with a buzz-saw.
Dead man in alcove up above.
Rothwild interrogates Abigail Ames.
Rothwild speaks to Abigail Ames.
The meat storage locker at the Rothwild Slaughterhouse.


")
")
")
")
")
")
")
")
")
")
")
")
")
")
")
")
")
")
")
")
")
")
")
")
")
")
")
")
")
")
")
")
")
")